Reading Time 5
Number of Words 981
There are times when we try to initialize our Windows or Linux system normally and we get a startup error type cannot find the device to start, cannot find the operating system or directly we have an error on the hard disk.
In those cases, it is convenient to try to repair our hard drive in some way for fear that we have not made a backup copy of our system, before trying to change our hard drive, since it cannot be repaired.
There are several ways to try to repair our hard drive and get all its information:
- Extracting the disk directly from the PC or laptop and use it as an external or secondary drive on another PC.
- Through an external disk drive connected to the PC that works as a startup disk, with an Ubuntu operating system ready to install. In these links we indicate How to create an external drive in Ubuntu, How to create an external drive in Windows.
Through an external drive with the Ubuntu operating system prepared, we will start the system. In this link we indicate how to start an operating system from a flash drive.
Once the Ubuntu system is booted from the flash drive, we will try to repair the damaged hard drive using a series of commands that can be executed from the terminal Linux. What these commands are going to do is isolate the sectors that are damaged, so that the hard disk will avoid storing the information in these sectors that are not in good condition.
These tools will only detect damage to the sectors, so if there is any physical damage to the disk or problems with the heads, the hard disk cannot be easily repaired, so it is advisable to change the hard disk.
One of these tools to use is badblocks, which will help us locate those sectors with failures to store information and try to recover them.
Preliminary Considerations
Before proceeding with any repair operations, consider the following:
-
Data Backup: If possible, back up your important data before attempting any repairs.
-
Live Session: Perform repairs from a Live USB session to avoid making changes to the system while it's running.
-
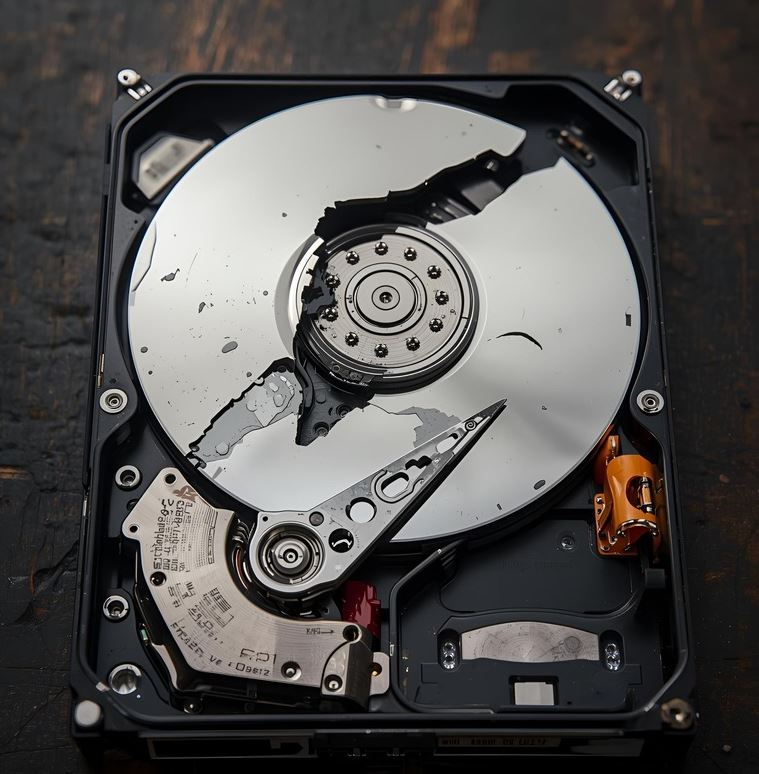
Drive Health: If the drive is physically damaged (e.g., making clicking noises), consider using tools like
ddrescueto clone the drive before attempting repairs.
Identifying the Problem
Start by identifying the nature of the damage:
-
Filesystem Corruption: Symptoms include missing files, slow performance, or errors when accessing files.
-
Bad Sectors: The drive may exhibit slow read/write speeds or errors during data transfer.
-
Partition Table Issues: The drive may not appear in the file manager, or partitions may be missing.
Badblocks to repair hard drive
To use this tool, the first thing to do is to identify the hard drive that we are going to repair, for this we will open a terminal and execute:
sudo fdisk -l
We can get something of this style, where the drive to repair is "sda" with a capacity of 240GB, and our flash drive is "sdb".
Once our hard drive is identified, we proceed to run badblocks from the terminal, in this case the drive to repair is / dev / sda. For this we will apply the following command in the terminal.
sudo badblocks -s -v -n -f /dev/sda
Where indicating the following:
- -s. It shows us the process of scanning the disk, showing us the sectors already checked.
- -v. It indicates the writing mode used.
- -n. It puts us in non-destructive mode, this means that the damaged sectors will be recovered and the information on the hard disk will not be damaged or deleted.
- -f. It will repair bad sectors.
This tool, depending on the size of the disk, can take hours or days.
Using fsck tool
fsck allows us to isolate those bad sectors for information storage.
For its use, like badblocks, the disk that we are going to analyze and repair must be unmounted, now we must open a terminal and execute the following command:
sudo fsck -cfvr /dev/sda
Where we are indicating the following:
- -c. Check blocks on disk.
- -f. Force the check, even if everything seems ok.
- -v. Display more information.
- -r. Interactive mode. Wait for our reply.
This tool, like badblocks, depending on the size of the disk can take hours or days.
Repairing a damaged hard drive in Ubuntu involves a series of steps that can address various issues such as filesystem corruption, bad sectors, and partition table problems. This guide provides detailed instructions on how to diagnose and repair a damaged hard drive using built-in Linux tools and utilities.
Using e2fsck Tool
For ext2/ext3/ext4 filesystems, e2fsck provides more options:
sudo e2fsck -f /dev/sda
-
-f: Force check even if the filesystem seems clean. -
-c: Check for bad sectors. -
-k: Keep the existing bad block list.
This command will scan for bad sectors and attempt to repair the filesystem.
Using e2fsck with -c Option
Alternatively, you can use e2fsck with the -c option to check for bad sectors:
sudo e2fsck -c /dev/sdX1
This will perform a read-only test to identify bad sectors and mark them in the filesystem.
Recovering Lost Partitions
If partitions are missing or the partition table is corrupted, you can attempt to recover them using TestDisk:
-
Install
TestDisk:sudo apt install testdisk -
Run
TestDisk:sudo testdisk -
Follow the interactive prompts to scan for lost partitions and recover them.
Cloning the Drive with ddrescue
If the drive is physically failing, it's advisable to clone it before attempting repairs:
-
Install
ddrescue:sudo apt install gddrescue -
Create a disk image of the failing drive:
sudo ddrescue /dev/sdX /path/to/image.img /path/to/logfile.logThis command will attempt to copy all readable data from the failing drive to an image file, logging the process for potential retries.
-
Once the image is created, you can attempt repairs on it without risking further damage to the original drive.
Using SystemRescue for Advanced Repairs
For more advanced repair options, consider using SystemRescue, a Linux distribution designed for system repair tasks:
-
Download SystemRescue from the official website.
-
Create a bootable USB drive with the SystemRescue ISO.
-
Boot from the USB drive and use the included tools, such as
GParted,TestDisk, andddrescue, to diagnose and repair the damaged drive.
Citations
-
Ubuntu Help: Repair a damaged filesystem
-
Ask Ubuntu: Fixing bad sectors of a hard drive
-
SystemRescue: Wikipedia
-
TestDisk: Wikipedia
-
Ddrescue: Wikipedia