Intro: install and configure apache on Ubuntu
Apache is one of the most widely used web servers in the world, powering millions of websites. Installing and configuring Apache on Ubuntu is a straightforward process that can be completed in just a few steps.
In this article, we will guide you through the process of installing and configuring Apache on Ubuntu, as well as troubleshooting common issues that you may encounter.
Installing Apache on Ubuntu
To install Apache in Ubuntu we have to open the terminal directly from the graphical environment or with the CTRL+AL+T key combination.
Inside the terminal we write the following:
sudo apt update
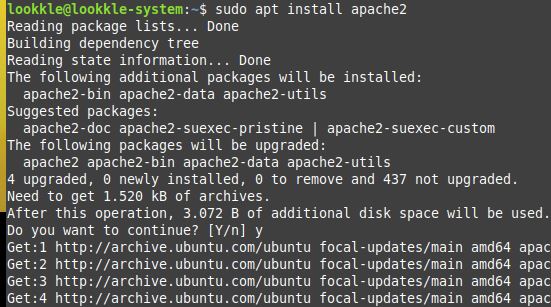
sudo apt install apache2
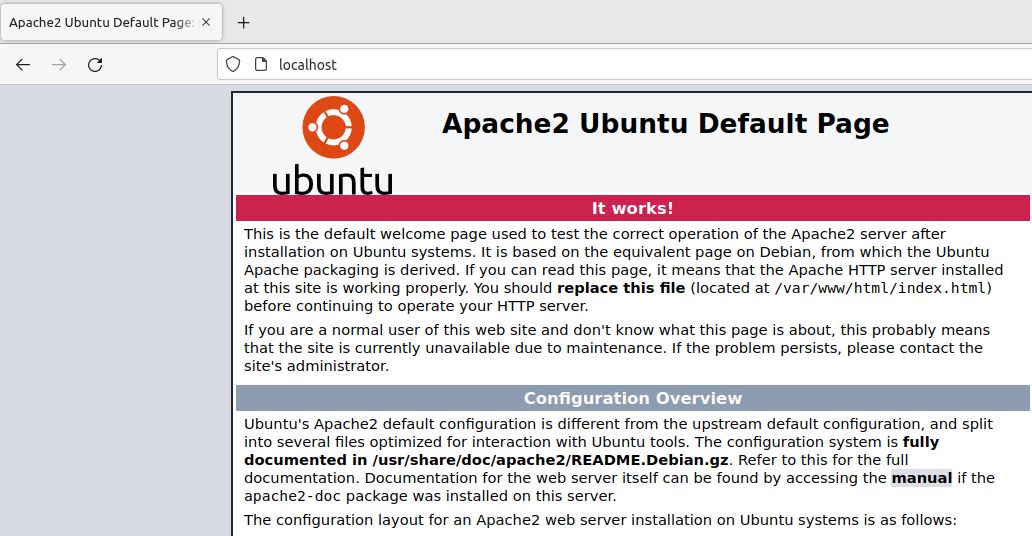
Once the installation is finished, from the web browser we can see its correct operation by typing directly "localhost".
Apache Configuration
Once Apache is installed, you can configure it to suit your needs. To navigate to the Apache configuration directory, use the following command:
cd /etc/apache2
From here, you can edit the main configuration file to modify server settings using a text editor such as nano or vim.
sudo nano /etc/apache2/apache2.conf
For example, you can change the default port that Apache listens on or enable/disable modules.
The apache2.conf file includes the ports.conf file located in the same directory, where the listening port can be modified.
sudo nano /etc/apache2/ports.conf
By default the file listens on port 80 according to the configuration we can see inside the file.
Listen 80
<IfModule ssl_module>
        Listen 443
</IfModule>
<IfModule mod_gnutls.c>
        Listen 443
</IfModule>
To check that port 80 is being used we can type in the browser http://localhost:80 and see that the default apache page is loaded.
If we change the port, we can write for example Listen 81, as long as there is no coincidence with other ports, in which case the error will be reflected.
Listen 80
Listen 81
<IfModule ssl_module>
        Listen 443
</IfModule>
We restart apache for the changes to take effect:
sudo service apache2 restart
We write in the web browser the URL with the new port:
http://localhost:81
We can see the open ports in Linux with the following command:
netstat -ptna
Additionally, you can create virtual hosts to host multiple websites on a single server.
To do this, you can create a new configuration file for each virtual host in the /etc/apache2/sites-available/ directory and then enable it using the a2ensite command.
The activated sites can be seen in the folder
/etc/apache2/sites-enable
Creating our first website
We create a new folder called lookkle2 inside /var/www:
sudo mkdir /var/www/lookkle2/
The permissions of the newly created folder must be 755 so that there is no access problem:
sudo chmod -R 755 /var/www/lookkle2
Inside the lookkle2 folder we create an HTML file "index.html":
sudo nano /var/www/lookkle2/index.html
Inside the file we copy a basic html code:
<html>
<head>
   <title>lOOkkle 2</title>
</head>
<body>
   <h1>This is my first page</h1>
</body>
</html>
We create the configuration file that allows us to see the newly created page within the web browser.
We enter the configuration file directory:
cd /etc/apache2/sites-available/
Inside this folder we copy the default configuration file to a new file:
sudo cp 000-default.conf lookkle2.conf
We edit the new configuration file with nano:
sudo nano lookkle2.conf
To start configuring the file we write the following:
ServerAdmin webmaster@lookkle2.com
A ServerAdmin email in case Apache experiences any errors.
DocumentRoot /var/www/lookkle2/
We indicate the folder where the files of our web page will be located.
ServerName admin.lookkle2.com
It gives us the name of the server and makes users reach the correct website by typing admin.lookkle2.com, then they can be redirected to this place or IP address by installing other types of servers.
The final result of the file lookkle2.conf will be:
<VirtualHost *:80> ServerAdmin webmaster@lookkle2.com DocumentRoot /var/www/lookkle2 ServerName admin.lookkle2.comErrorLog ${APACHE_LOG_DIR}/error.log CustomLog ${APACHE_LOG_DIR}/access.log combined </VirtualHost>
In the file we can see that we are still using port 80.
We exit and save the file by pressing CTRL+X.
We activate the site by writing the code
sudo a2ensite lookkle2.conf
You can disable the default site or any site with the a2dissite command followed by its configuration file. For the default file it would be:
sudo a2dissite 000-default.conf
We reload apache for the changes to take effect:
sudo service apache2 reload
Our newly created server name is "admin.lookkle2.com" so we added it to our computer with another IP address.
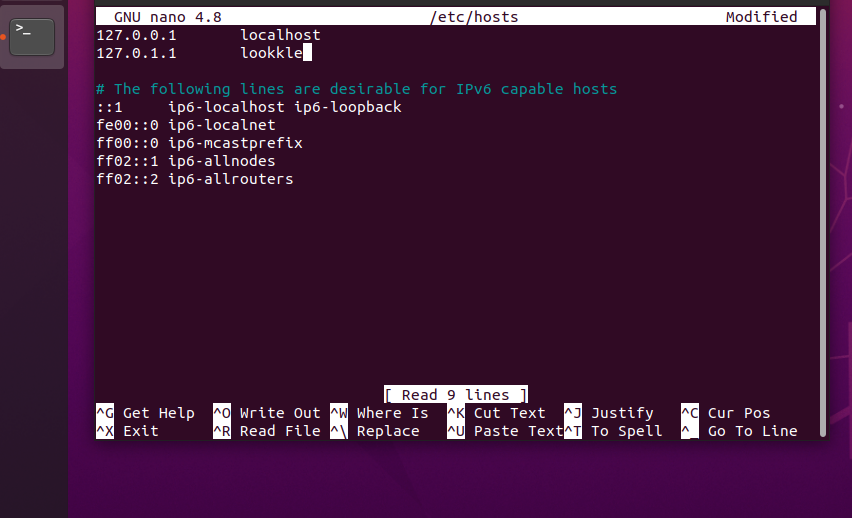
We enter the host file:
sudo nano /etc/hosts
Inside the file we add the new server name to the IP address 127.0.1.1
127.0.0.1 localhost
127.0.1.1 admin.lookkle2.com
We now have two active sites on our team for two nameservers.
We write in the web browser the newly created web page:
http://admin.lookkle2.com
We can also continue to see the default web of apache:
http://localhost
Issues with Apache on Ubuntu
If you encounter issues with Apache on Ubuntu, there are several steps you can take to troubleshoot the problem.
- First, you should check the error log file for any issues using the following command:
sudo tail -f /var/log/apache2/error.log
This will display the last few lines of the error log file in real-time, allowing you to see any errors that Apache is encountering.
This will check the syntax of the configuration files and display any errors that are found. - If you are still having issues with Apache, you should check your firewall settings to ensure that Apache traffic is allowed.
You can use the ufw firewall utility to check and modify your firewall settings.
We check if the firewall is active.
sudo ufw status
In the case that it is active, we can make it allow Apache:
sudo ufw allow 'Apache'