Reading Time 2
Number of Words 431
Changing your username in Ubuntu is a straightforward process when done correctly. This guide will walk you through the steps to safely rename your user account without losing access to your files or settings.
Prerequisites
Before proceeding, ensure you have:
-
Administrator (sudo) access: You need administrative privileges to modify user accounts.
-
Backup: It's advisable to back up important data before making changes to system configurations.
-
Access to another user account: You cannot rename the account you're currently logged into. If necessary, create a temporary user with sudo privileges.
Step 1: Create a Temporary User (if needed)
If you're logged into the account you wish to rename, you'll need to create a temporary user:
-
Open a terminal and create a new user:
sudo adduser tempuser -
Add the new user to the sudo group:
sudo usermod -aG sudo tempuser -
Log out of your current session and log in as
tempuser.
Step 2: Rename the User Account
With the temporary user logged in, proceed to rename the target account:
-
Open a terminal and execute the following command to rename the user:
sudo usermod -l newusername oldusernameReplace
newusernamewith your desired username andoldusernamewith the current username. -
Rename the user's home directory:
sudo usermod -d /home/newusername -m newusernameThis command moves the contents of the old home directory to the new one.
-
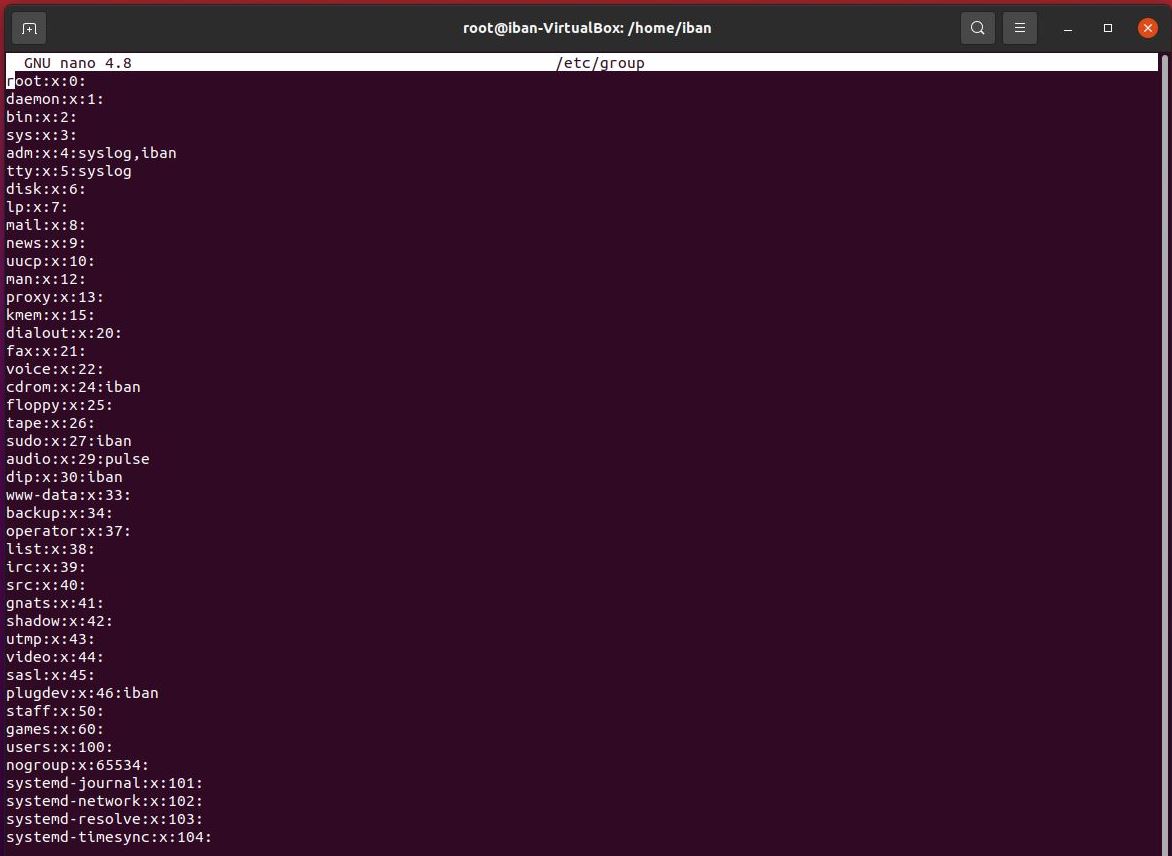
Rename the user's primary group:
sudo groupmod -n newusername oldusernameThis ensures the group name matches the new username.
Step 3: Update File Ownerships
To ensure all files are correctly associated with the new username:
-
Change the ownership of the home directory:
sudo chown -R newusername:newusername /home/newusername -
Update any files outside the home directory that may still reference the old username. This can include configuration files and scripts. Use the
findcommand to locate such files:sudo find / -user oldusername -exec chown newusername:newusername {} \;Be cautious with this command, as it affects all files owned by the old username.
Step 4: Verify the Changes
After making the changes, verify that everything is functioning correctly:
-
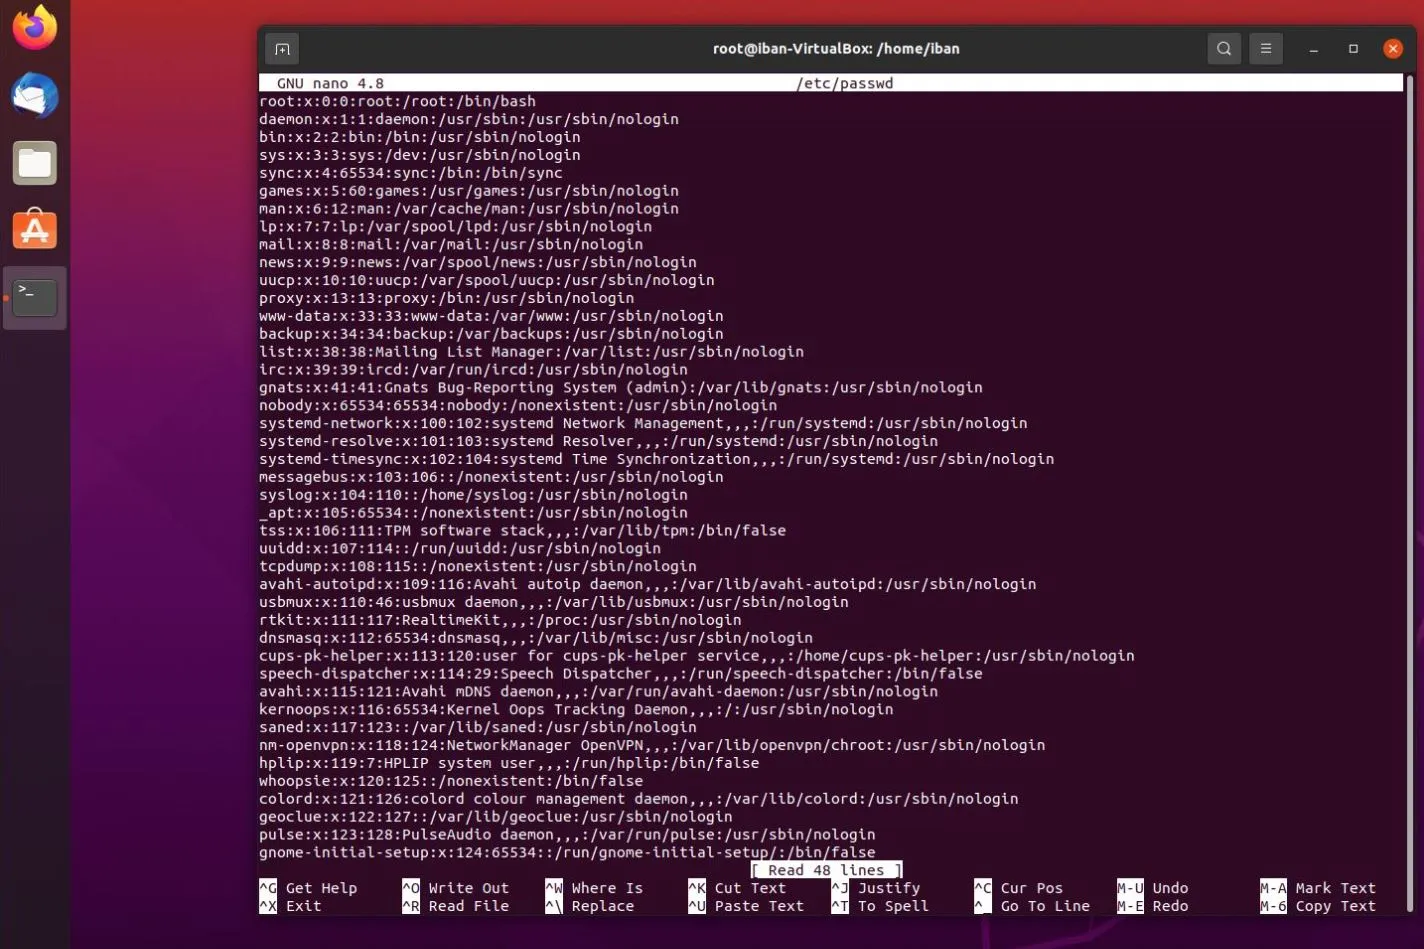
Check the
/etc/passwdfile to ensure the username has been updated:grep newusername /etc/passwd -
Verify the home directory:
ls -l /home/newusername -
Test logging in with the new username to confirm access.
Troubleshooting
-
Permission Issues: If you encounter permission errors, ensure that all files and directories have the correct ownership and permissions.
-
Service Dependencies: Some services may reference the old username. Check service configurations and update them as needed.
-
Reverting Changes: If you need to revert to the original username, you can follow the same steps, substituting the new username with the old one.
Conclusion
Renaming a user account in Ubuntu 2025 is a manageable task when approached methodically. By following these steps, you can change your username without losing access to your files or settings. Always ensure you have backups and proceed with caution, especially when modifying system configurations.