Reading Time 5
Number of Words 1035
Here is a detailed, step-by-step tutorial on the different ways to create or use an external drive with Ubuntu.
By “external drive” I mean using an external HDD/SSD or USB stick as a bootable Ubuntu system, not just a data disk.
Overview & Considerations
Before diving into steps, here are key points and which method you might choose:
| Method | What it gives you | Pros | Cons / Caveats |
|---|---|---|---|
| Live USB (no persistence) | Boot Ubuntu from USB; changes are lost after reboot | Simple, fast setup | Nothing is saved between sessions |
| Persistent Live USB | Boot Ubuntu, with a “persistent” partition for saving data/settings | You can save files, install apps across reboots | Limited in flexibility; performance slower; partition size limits |
| Full install to external drive | A full Ubuntu installation on external drive, just like on internal | More flexibility, upgrades, full control | More complex setup; risk of messing internal disk’s bootloader |
| Hybrid / Advanced methods | Use external drive with special GRUB settings, removable mode, etc. | More portable across machines | More advanced; riskier if done wrong |
Many guides agree that installing Ubuntu to an external HDD/SSD is nearly the same as internal, except you must be careful where bootloader (GRUB/EFI) is installed (not overwriting internal disk’s).
Also, the --removable installation for GRUB is useful to ensure EFI boot is isolated to the external drive and doesn’t mess with internal system.
Requirements / What You Need
-
Ubuntu ISO — download from Ubuntu’s official site (e.g. Desktop edition).
-
A USB / external drive (HDD or SSD works) — make sure you have backups because partitions will be changed.
-
A USB stick / live media to bootstrap the install (unless using advanced direct-ISO methods).
-
A computer that supports booting from external USB devices.
-
Familiarity with partitioning tools like GParted, and careful with drive identifiers like
/dev/sdb,/dev/sdc, etc.
Method A: Live USB (no persistence)
This is the simplest. It allows you to boot Ubuntu from a USB stick, but changes (installed packages, files) are lost after shutdown.
Steps
-
Use a utility like Startup Disk Creator (on Ubuntu), Etcher, Rufus, or UNetbootin to flash the ISO to a USB stick as a live USB.
-
Ubuntu includes Startup Disk Creator.
-
UNetbootin is cross-platform and supports live USB creation.
-
-
Boot your computer selecting USB as boot device.
-
Choose “Try Ubuntu” (or similar) instead of installing.
This method is great for testing, rescue, or temporary use, but not for persistent day-to-day use.
Method B: Persistent Live USB
This is like Live USB but with a provision to save data across reboots.
Steps & Notes
-
When using tools like Rufus, you can allocate a “persistent partition” size.
-
Some tools (Ventoy, mkusb) support persistence in more flexible ways.
-
But note: persistence has limits (e.g. how much space; performance is slower; system upgrades may break).
This is often a middle ground between “throwaway live USB” and full install.
Method C: Full Ubuntu Install on External Drive
This gives you a full-fledged Ubuntu environment on the external drive, which you can boot from any (compatible) PC.
Detailed Step-by-Step
Below is a recommended workflow:
1. Boot from Live USB and “Try Ubuntu”
-
Use your live USB (from previous methods) to boot into Ubuntu’s “live session” (Try Ubuntu mode).
-
Connect your target external drive.
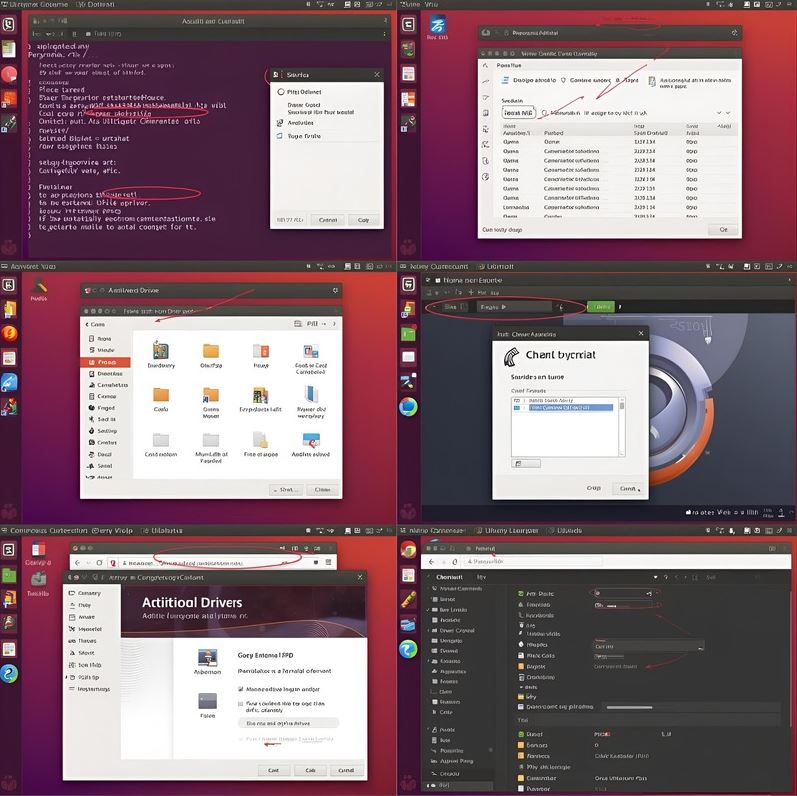
2. Open GParted and Prepare Partitions
-
Launch GParted (installed by default or via
sudo apt install gparted). -
In the top-right, choose the external drive (e.g.
/dev/sdb, not your internal/dev/sda). -
If needed, unmount any mounted partitions on that drive.
-
Delete existing partitions (if any) — be absolutely sure you're working on the external drive.
-
Create a new partition table, e.g. GPT or MS-DOS (MBR) depending on your system’s need.
-
Create at least:
-
EFI System Partition (ESP) — ~100-300 MB, FAT32, with flags
boot, esp(for UEFI systems) -
Root partition
/— ext4, occupying the bulk of the remaining space -
Optionally swap partition (size depends on RAM and whether you want hibernation)
-
Optionally separate
/homeor other partitions as you like
-
-
Apply the operations in GParted.
3. Launch Ubuntu Installer and Use “Something Else”
-
From the live session, run the Ubuntu installer.
-
When asked Installation Type, select Something Else (manual partitioning).
-
In the partitioning dialog:
-
Choose the ext4 partition you made, set it to mount as
/, and check “Format”. -
Assign swap partition (if using).
-
Set the bootloader installation location (this is critical!) to your external drive (e.g.
/dev/sdb), not the internal drive. -
The installer might try to default to your internal drive for EFI; override carefully.
-
-
Proceed with installation (user, timezone, etc.).
4. After Installation: Reinstall GRUB in “Removable” Mode (Optional but Safer)
To make the external drive more portable (i.e. it doesn’t depend on a specific internal disk), you can reinstall GRUB using the --removable option. This helps ensure that the EFI boot files live fully on the external drive.
For example, after booting from the external drive:
sudo grub-install --removable sudo update-grub
Alternatively, do this from a chroot environment pointed to your external drive.
5. Boot from External Drive
-
Reboot your computer, enter BIOS/UEFI boot menu, and choose your external drive.
-
If everything was set up correctly, Ubuntu should boot from the external drive.
-
You can test on different machines (if hardware support is good).
Advanced / Alternative Methods & Tips
-
Some guides recommend disconnecting internal drives during install so there's no chance of accidentally touching them.
-
If you can’t disable internal drive, be super careful with partition/bootloader selection.
-
Using the
--removableGRUB install is often cited as best practice for fully portable external Ubuntu. -
There are guides for doing Ubuntu install to external drive without using a live USB, by mounting ISO directly, etc.
-
Beware that Ubuntu installer sometimes ignores your manual ESP selection and writes to internal disk; always double-check.
-
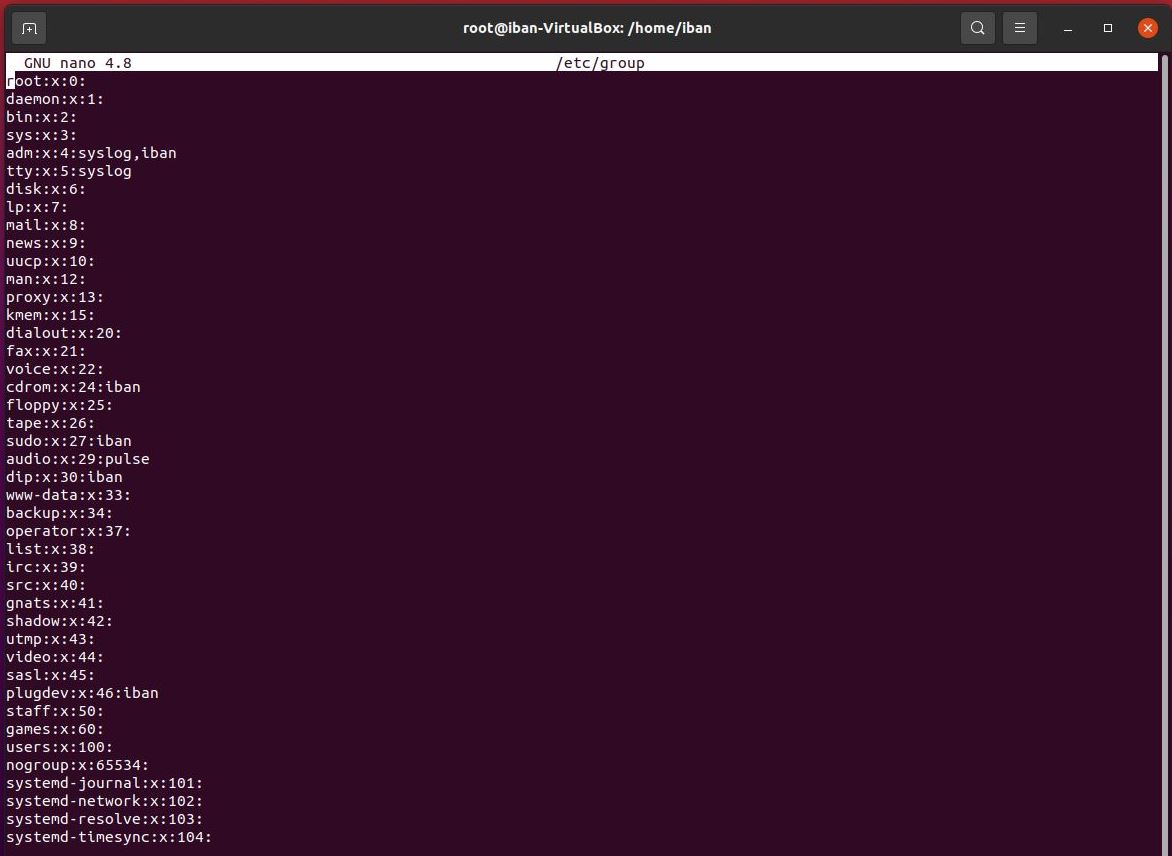
You may need to tweak
/etc/fstabto ensure correct mounting of partitions when booting on different systems.
Example Walkthrough (UEFI Scenario)
Here’s an example scenario:
-
You have a Windows laptop that supports UEFI boot.
-
You prepare a live USB and boot “Try Ubuntu”.
-
You plug in an external SSD.
-
In GParted, you identify it as
/dev/sdb, wipe it, create GPT table. -
Create partitions:
-
/dev/sdb1~200 MB, FAT32, flagsboot, esp -
/dev/sdb2ext4, size ~200 GB → mount as/ -
/dev/sdb3swap, e.g. 8 GB
-
-
Run Ubuntu installer “Something Else”:
-
Set
/dev/sdb2to mount/ -
Set swap
-
Bootloader installation target:
/dev/sdb
-
-
Complete installation.
-
Boot into the new Ubuntu on external SSD.
-
In terminal:
sudo grub-install --removable&sudo update-grub. -
Reboot, pick the external drive in BIOS/UEFI, and Ubuntu boots.
Troubleshooting & Tips
-
Wrong drive selected accidentally → you might overwrite your system. Always double-check drive names.
-
Ubuntu boots but problems with bootloader → check EFI partition mount, reinstall GRUB.
-
Slowness → external USB may be slower; use USB 3.0 / SSD for better performance.
-
Hardware differences → external installation may have drivers missing for some machines.
-
Secure Boot / UEFI firmware issues → you may need to disable secure boot or enroll keys.